*This post may contain Affiliate Links, please read my disclosure page.*
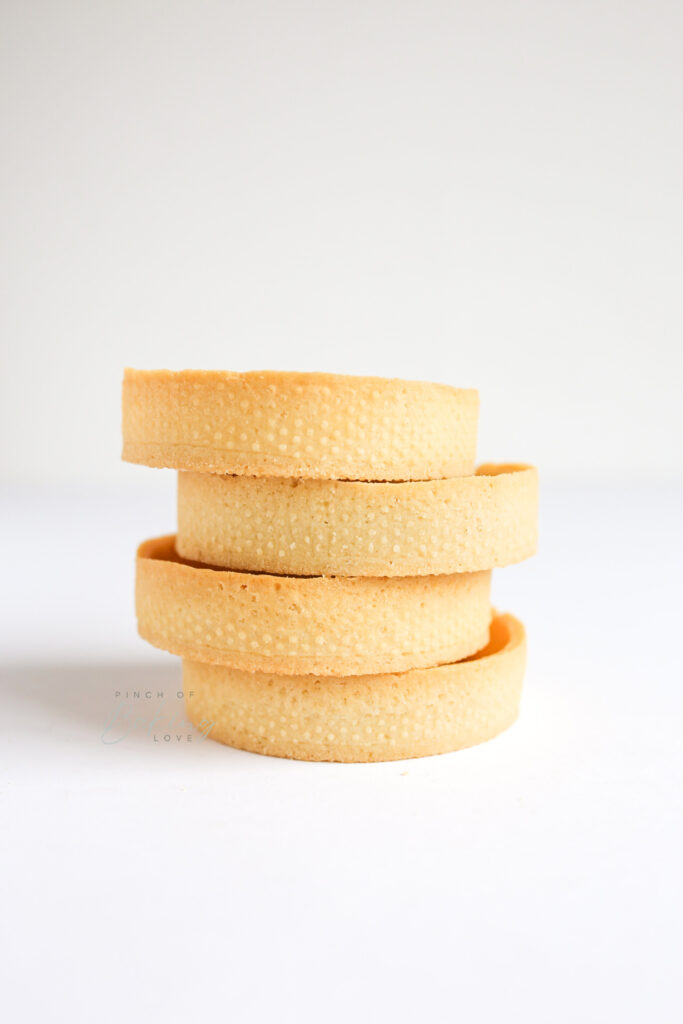
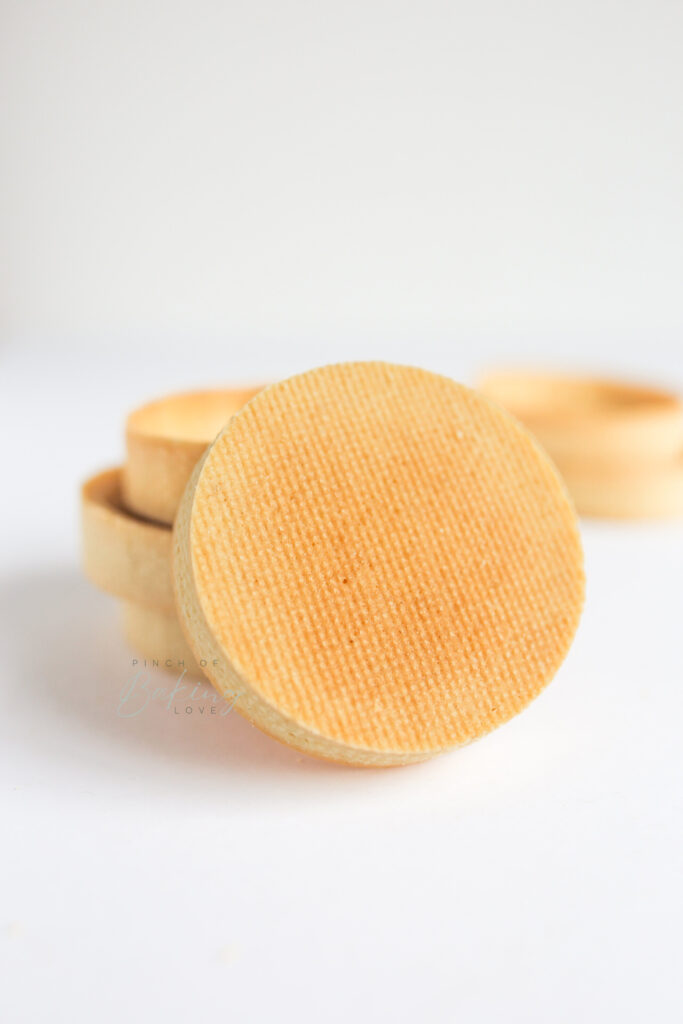
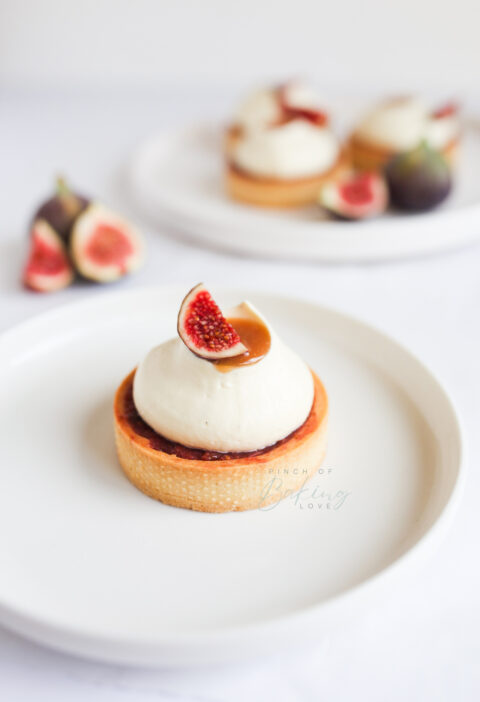
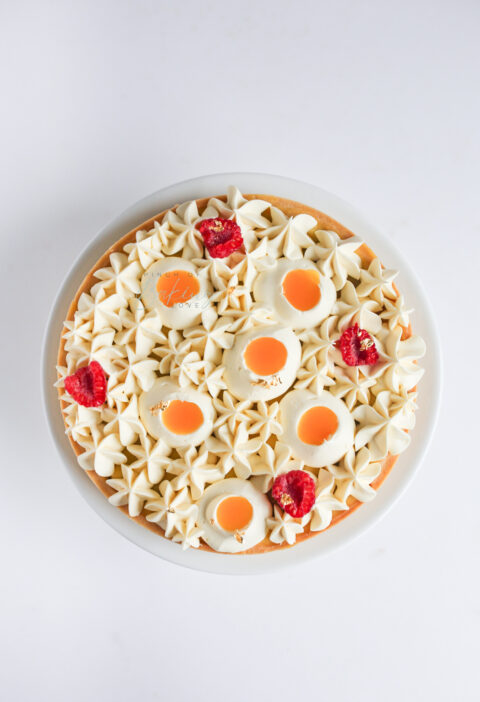
I made my first tarts back in 2021 and I never looked back. They do require you to be a little patient, but the end result is so worth it! You can create so many different flavour and texture combinations. Simple tarts are just as tasty as the more advanced ones!
What you'll need:
Perforated Tart Rings - 8cm
Perforated Mat
Optional, but also recommended:
Perforated Tray
This recipe makes 7/8 tarts.
Ingredients:
- 220g flour
- 105g butter
- 80g icing sugar
- 1 egg
- Pinch of salt
Instructions:
- Cut the cold butter into smaller chunks and place in a bowl. Add the dry ingredients and rub them all between your fingers until you have a sand-like consistency. Add the egg and mix until it all comes together. Try to work fast and not over-mix the dough as you don't want it to be too warm to work with.
- Divide the mixture in half and place each half in-between 2 sheets of baking paper. Some people use silicone mats for that, but I am not a big fan. If your freezer is wide enough, you could roll out the entire dough in one go. Mine isn't, so I prefer to divide it in half.
- Roll out the first half of the dough to about 3mm thickness. If you’re using baking paper, make sure to watch out for crinkles as they will be visible in your tarts. It may cause the tart to break later too. In order to get rid of the crinkle, simply lift up the top sheet of the baking paper, place it back down and start rolling again.
- Place the rolled-out dough in the freezer. It’s important that it’s placed on an even surface. I put mine on a chopping board and then transfer it to the freezer.
- Repeat the above steps for the second half of the dough - try to aim for a rectangular shape while rolling it out as this one will be used for the long stripes/edges. I tend to put the second dough right on top of the first one (no need for another chopping board here) due to space limitations in my freezer. Keep both in the freezer for at least two hours.
-
Prepare the perforated mat by placing it on another chopping board - you will have to move it to the fridge a few times before you bake the tarts, so this will make the process easier.
- Take out the first rolled-out dough from the freezer, lift off the top piece of baking paper, flip the dough and take off the other one too. Cut out 6 circles using the perforated tart rings and carefully move them (with the rings) onto the perforated mat. Place in the fridge while you cut out the strips for the edges.
- Take the other half out of the freezer and cut out 6 long strips out of the dough – these will be your tart edges. Make sure they are around 2,5cm wide each. It’s best to have a little bit more as you can always cut it down to size rather than too little and having to add extra in, which may cause your tart to break while baking.
- You need to watch the temperature of the dough. If left out of the freezer for too long, the dough will be warm and will become too difficult to work with. If this happens, pop it back in the freezer for about 10mins. If the dough is too cold, it will break, so you might need to give it a few minutes before you begin. You want it to be just the right temperature to work with, it may require some trial and error. Depending on the temperature in your kitchen etc, this may mean that you will have to move your dough/unbaked tarts in and out of the fridge/freezer a few times while you work on your tart shells.
- Take out the board with your tart circles/bottoms from the fridge and gently line the long strips around the tart rings – don’t force it too much as they might get a little stuck and won’t be easy to take out of the rings after baking. Make sure that you carefully align it with the circles at the bottom to avoid creation of any gaps.
- Place the ready-to-bake tarts with the perforated mat in the fridge for about 30mins and preheat your oven to 170C (no fan).
- After that time, take them out from the fridge and trim the excess off from the top using a sharp knife.
- Grab the perforated tray and gently move across the mat with the tarts onto it then on the oven rack. You don’t want to place it on the oven tray as that will not let your perforated equipment do their job properly! If you don’t have/don’t want to invest in the perforated tray, then place your tarts with the perforated mat on your oven tray, but keep it mind that you may possibly not get an even tart bottom. Bake for about 15-17mins until they are golden. Every oven is different, so please make sure that you check in on your beautiful tarts as they bake. They might need some extra or less time in your oven. If the bottom of your tarts is slightly thinner than the sides, it may mean that they will start browning more quickly.
NOTES:
Perforated mats and trays help with the air flow around your baked goods and help your tarts bake evenly = have an even bottom. You don’t need to put any weight (e.g. beans) on top while they’re baking.
You may decide not to buy the mat and/or the tray, which is absolutely fine, but please remember that the look of your end result may differ. If you're only going to go for one of them, always get the mat first.
You will most likely have some dough leftover, in which case you can put it all together, roll out to about 2-3mm, grab a cookie cutter and cut out some shortbread cookies or make another tart or two. All depends on the thickness of the dough you rolled out at the start! 🙂
Feel free to message me if you have any questions.
Have fun! 🙂