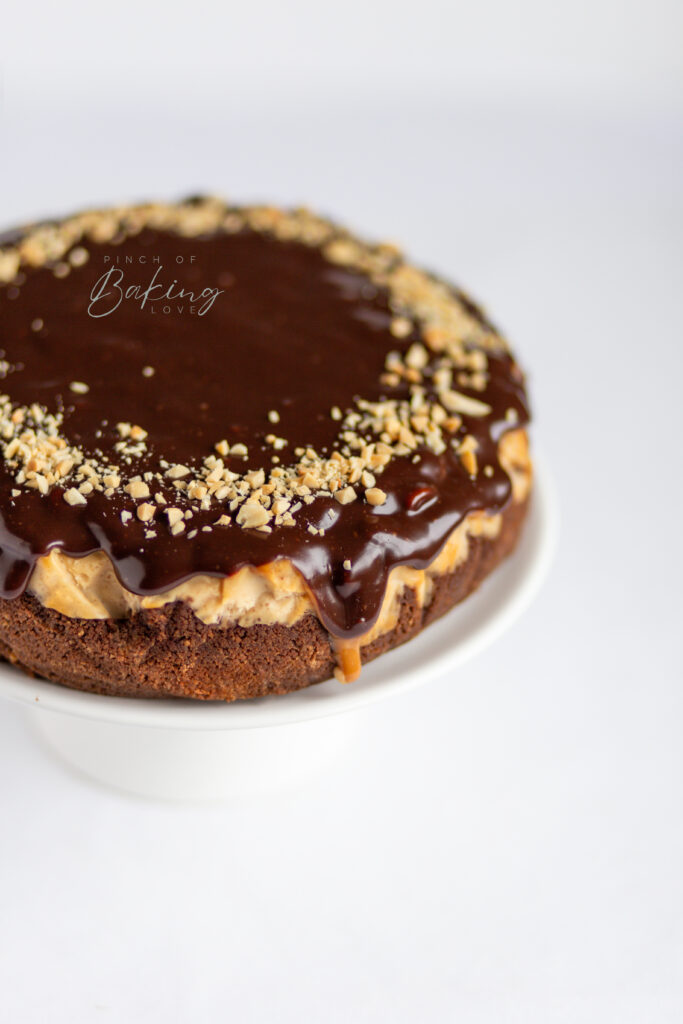
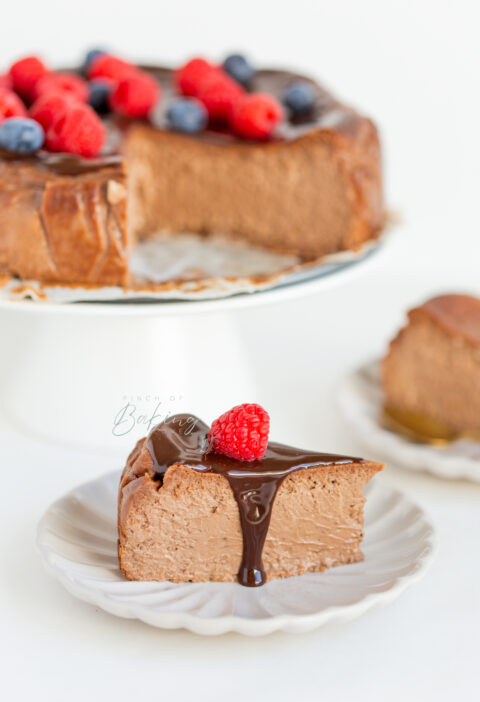
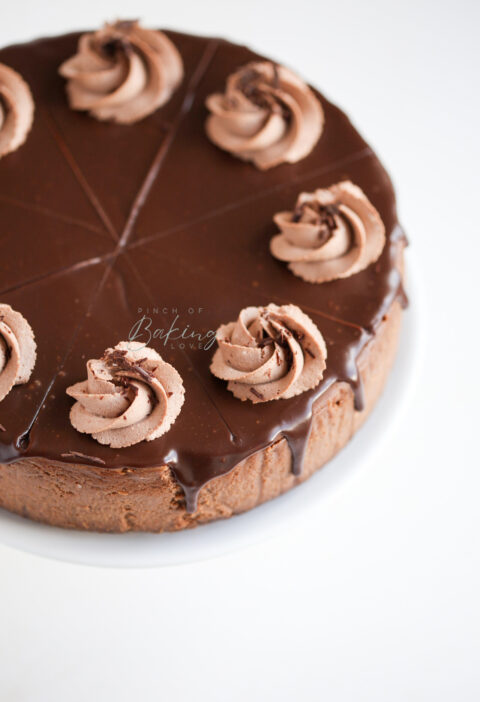
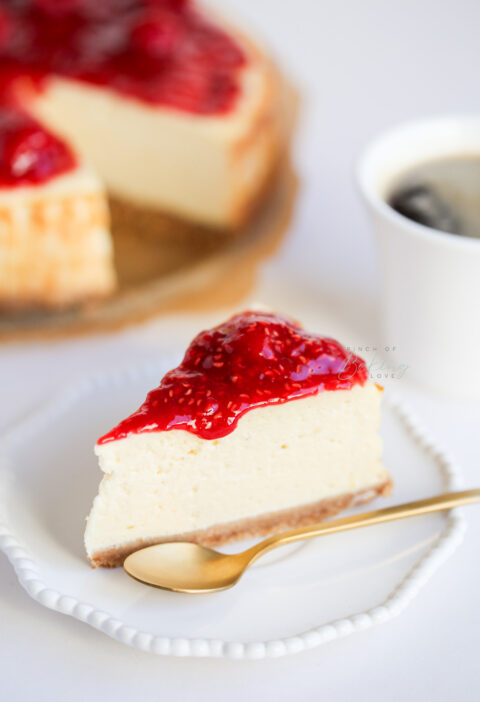
For a while now I kept seeing a beautiful looking snickers cheesecake over at The Sernik’s Instagram. Since I won’t be able to go there any time soon, I decided to create my own version – had to make it 3 times in order to make sure it’s as delicious as I hoped for it to be from the start and I am so glad to be sharing the final version with you now. 🙂 Be warned though, it’s more on the sweet side. Thank you to Kendi for inspiring me to re-create these cheesecake flavours.
Ingredients:
Base:
- 230g cocoa biscuits*
- 80g butter
Cheesecake:
- 550g Polish cheesecake filling** or full fat mascarpone
- 250g mascarpone
- 180g granulated sugar
- 3 eggs
- 1 tablespoon vanilla extract
- 120g double cream
- 150g peanut butter (100% & smooth)
- 140g caramel from a tin (I used Carnations)
Peanut Caramel:
- 150g caramel from a tin (I used Carnations)
- 90g peanut butter
- 80g peanuts – roughly chopped
Chocolate decor:
- 60g dark chocolate
- 90g milk chocolate
- 70g whipping cream
- 20g peanuts – finely chopped
*I used bourbon ones, but took the filling out. 230g in the recipe is already without the filling.
**I use this one (not an ad), you can find it in most of the Polish shops as well as most of the large supermarkets in the UK – at least in London.
Instructions:
- Preheat the oven to 160C – no fan.
- Line the bottom of a 22cm round (spring form) tin with baking paper – I try to make sure to cut a bigger piece than the bottom of the tin, so that there is some extra baking paper that just stays on the outside of the tin once I’ve put on the sides of the tin. Grease the sides of the tin with a little bit of oil, cut two strips of baking paper and stick them to the sides. NOTE: I didn’t use this method when I baked the cheesecake for this post, hence why the edges aren’t smooth and have some dents in them. 😉
- Crush the biscuits in a food processor and add the melted butter.
- Place the biscuit mix at the bottom of the tin as well as up the sides (about half way up), even it out at the bottom and make sure to press down firmly with the back of a spoon. Place in the oven and bake for 15 minutes.
- Take out of the oven and let it cool while you prepare the next steps.
- Turn the oven up to 180C – no fan still.
- Place the cheesecake filling/cream cheese (room temp) and sugar in a bowl of your stand mixer and using the paddle attachment, mix for a few minutes until smooth. Scrape down the sides of the bowl.
- Add the rest of the cheesecake ingredients into the bowl and mix until combined and smooth. Should take about 1-2mins, about half way through scrape down the sides. Try to not over-beat to avoid any extra air from getting into the batter.
- Pour the cheesecake mixture into the tin, even it out, if needed and then tap it 2-3 times against the counter to help any trapped air bubbles move to the top.
- Bake at 180C for 15 minutes, then reduce the temperature to 130C – no fan and bake for another 50-55 minutes. Turn the oven off, open the door and leave the cheesecake inside for about 5minutes. Take it out, let it cool and place in the fridge overnight.
Decor:
- The day of serving, mix together the caramel, peanut butter and roughly chopped peanuts then spread the peanut caramel on top of the cold cheesecake. Place in the fridge while you prepare the chocolate ganache to go on top.
- Place whipping cream and both chocolates in a small saucepan and heat up over a low heat until the chocolates start to melt and everything starts to combine. Take off the heat and stir until smooth. Place over the peanut caramel topping using a spatula and sprinkle finely chopped peanuts around the edges of the cheesecake.
- Place in the fridge to let the toppings set. Due to bad weather and light restrictions on the day, I had to take these photos before the toppings have set properly. 🙂
You can do the decor the same day as you bake the cheesecake, if you need it to be ready early the next day, but you have to make sure your cheesecake had some time to cool and then rest in the fridge for at least 2hrs before decorating.
Enjoy! 😀